Manual Install with Expo
This section could make confusion for beginer or who is not familar with the React Native framework, please keep patient if the config does not work
Step 1 - install required library
Install following requisite libraries
- NodeJS, link download
- iOS simulator (Mac OS): Install Xcode through the Apple App Store.
- Android simulator: Download Genymotion (free version) and follow the Genymotion installation guide.
- Expo cli: https://expo.io/tools
Test your Example project
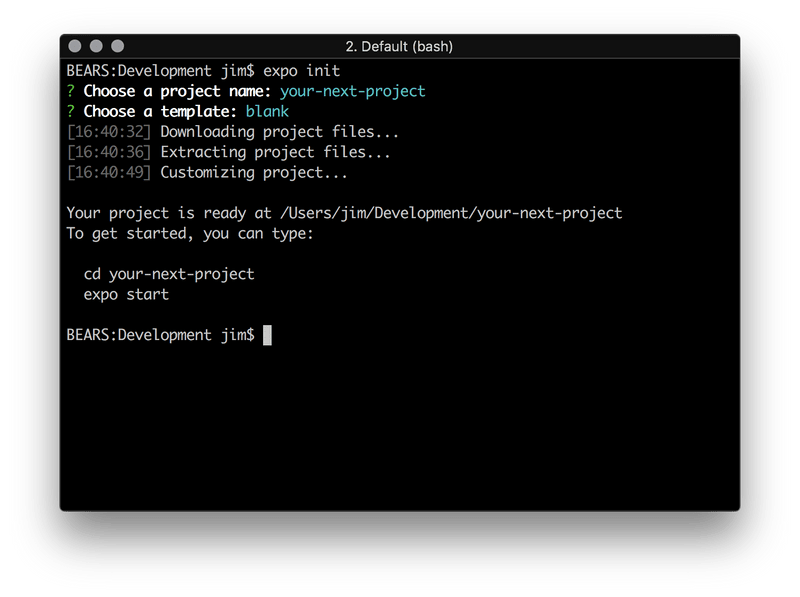
Open the terminal on Mac OS or command line on Window and run below script
expo initFor more information about the install please refer to this document:
- Expo Installing: https://docs.expo.io/versions/latest/introduction/installation
- Expo Up and Running: https://docs.expo.io/versions/latest/workflow/up-and-running
- React Native getting start:https://facebook.github.io/react-native/docs/getting-started.html
Please make sure you can able to run the Example project and use the Expo cli to run the simulator before going to next step.
Step 2 - run the app
Extract the download package and go top project folder (where locate the package.json file), run following script
yarn install // (please make sure you have installed https://yarnpkg.com/en)
yarn start
- If the installing successful then you can see the node_modules folder was created after finish the script, and the brower open the Expo Tools
- To run the app on Android OS, please make sure the Simulator is open first
- On iOS you can able to run this quick installing script: yarn setup
You can follow this this video install guide for setting up - https://youtu.be/EQwss-d2I08
